A DIY bathroom remodel can save a lot on labor, but only if you choose the right jobs to do yourself. Painting, installing a vanity or laying floor tile are within reach for a careful homeowner. Moving plumbing, adding circuits or waterproofing a shower have much less room for error.
This guide explains how to remodel a bathroom in the right order, what tools you need and where to draw the line between DIY and hiring a pro.
Step 1: Plan and Check Permits
Write down exactly what changes and what stays. Keeping the toilet, sink and shower in the same positions is the simplest way to keep a DIY project manageable, because it avoids moving drain lines.
Then call your local building department. Cosmetic work usually does not need a permit, while new wiring, new circuits and plumbing changes generally do. Some places also require that electrical or plumbing work under a permit be done by a licensed professional rather than the homeowner. Rules vary by city and state, so ask before you start.
If your home was built before 1978, test for lead paint before sanding or demolishing painted surfaces. Older flooring, adhesives and joint compound may also contain asbestos. Testing is cheaper than cleanup.
Step 2: Gather the Right Tools
| Job | Tools |
|---|---|
| Demolition | Pry bar, hammer, utility knife, reciprocating saw, shop vacuum |
| Measuring and layout | Tape measure, level, stud finder, chalk line |
| Tile | Tile cutter or wet saw, notched trowel, spacers, grout float, sponge |
| Plumbing fixtures | Adjustable wrench, basin wrench, plumber’s tape |
| Finishing | Caulk gun, drill/driver, paint brushes and rollers |
| Safety | Safety glasses, gloves, dust mask or respirator, hearing protection |
Renting a wet saw for a weekend is often more sensible than buying one for a single bathroom.
Step 3: Demolition
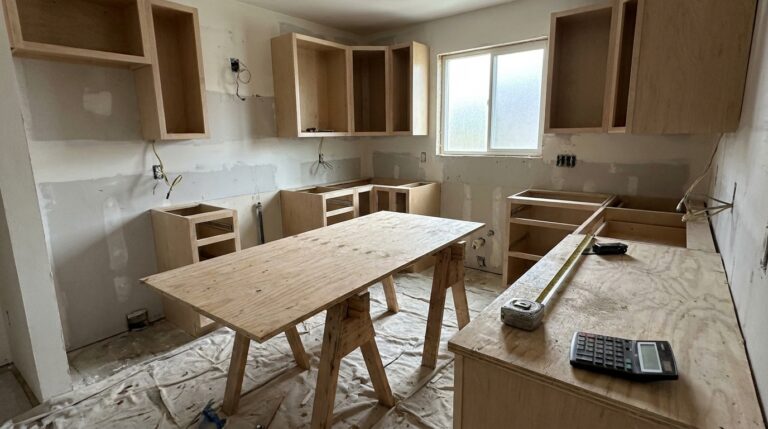
Shut off the water at the fixture valves or the main, and turn off the bathroom circuit at the breaker. Remove the toilet, vanity and mirror first, then the tile or tub surround if they are coming out. Plug the toilet drain with a rag to block sewer gas and debris.
Take your time around pipes and wires hidden in walls. Once walls are open, look for signs of water damage or rot. Fixing them now is far cheaper than after new tile goes on.
Step 4: Rough-In Work (Often a Pro’s Job)
This is where plumbing and wiring are placed or moved. If your project only swaps fixtures in the same spots, you may skip it. If you move a drain, add a circuit or install a new exhaust fan, hire licensed trades or confirm what your permit allows you to do.
A few points your plan should respect:
- Bathroom receptacles need GFCI protection under the National Electrical Code.
- The International Residential Code calls for bathroom exhaust of at least 50 cfm intermittent or 20 cfm continuous, vented outdoors, unless the room has an operable window that meets code instead.
- Toilet placement must leave at least 15 inches from its centerline to a side wall and 21 inches of clear space in front.
Step 5: Walls, Waterproofing and Tile
In wet areas, use cement board or another tile backer designed for showers, not regular drywall. Shower walls and floors need a waterproofing membrane, and a shower pan must slope correctly to the drain. This is the step where a small mistake can cause hidden leaks, so many DIYers hire it out even when they tile the rest.
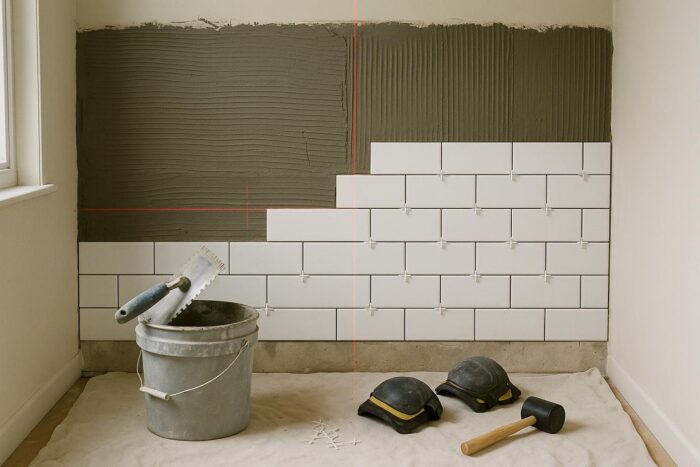
Floor tile and wall tile outside the shower are good DIY jobs. Dry-lay the tiles first to plan cuts and avoid thin slivers at the edges.
Step 6: Paint, Vanity and Fixtures
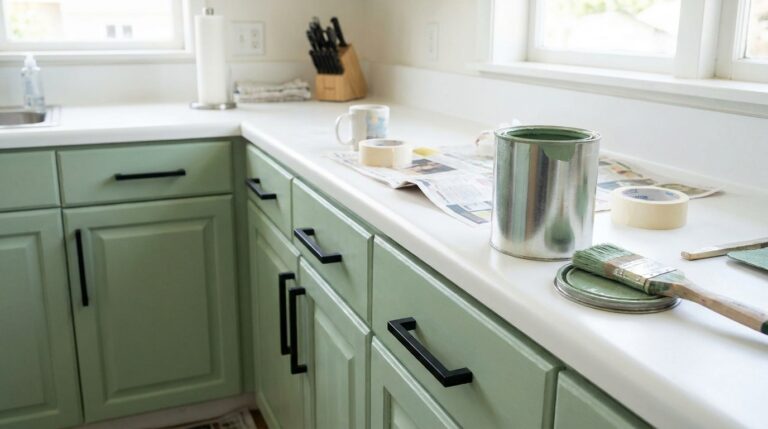
Paint before installing the vanity and toilet. Choose a paint rated for bathrooms, in satin or semi-gloss, which handles moisture and cleaning better than flat paint.
Next, install the vanity (fixed into studs if it is a floating model), then the faucet, sink drain, toilet, mirror and lights. Replacing a faucet or toilet in the same spot is well within DIY reach. Test every connection for leaks before closing cabinet doors.
Finish with caulk around the tub, shower and vanity top, then accessories like towel hooks and shelves. For finishing touches, browse our bathroom renovation ideas, organized part by part.
What to DIY and What to Hire Out
Usually DIY-friendly: painting, hardware, mirrors, accessories, vanity installation, faucet and toilet swaps in the same spot, floor tile, wall tile outside the shower.
Better left to pros: moving plumbing, new electrical circuits and fans, shower waterproofing and pans, structural changes, glass shower panels, anything involving gas or load-bearing walls.
Working in a tight room adds its own challenges. For layouts and tricks that make a compact bathroom work, see space-saving ideas for tight bathrooms before you finalize your plan.
FAQ
Can I remodel a bathroom myself?
Yes, for cosmetic and fixture work. Plumbing moves, new circuits and shower waterproofing are best handled by licensed pros, and permits may require it.
What order should a bathroom remodel follow?
Plan, demolition, rough-in plumbing and electrical, walls and waterproofing, tile, paint, then vanity, toilet, fixtures and accessories.
How long does a DIY bathroom remodel take?
It depends on scope and your free time. A cosmetic refresh can take a weekend or two; a full remodel with tile takes much longer when done on evenings and weekends.
Do I need a permit for a DIY bathroom remodel?
Often not for cosmetic work, but usually yes for plumbing and electrical changes. Check with your local building department.